Building a homebrew LTE Router Part 1
Building a homebrew LTE Router Part 1
Living in the country-side close to a small city (Limerick/Ireland) means that my access to high speed broadband is pretty limited. I do have a ‘mom and pop shop’ fixed wireless provider that does for netflix and spotify, but with erratic pings and at a times highly contended network, it was proving to be unsuitable for work. VOIP, Google Hangouts, Lync screen-sharing were all becoming problematic at peak times. I needed an alternative solution.
My house looks down on the city, and I can see a number of cellular base stations from my front porch. My LTE reception is pretty good for all the Irish cellular providers, with lower pings and much better bandwidth than the fixed wireless provider. The problem with the cellular providers is that they are prohibitively expensive for data hungry applications like ‘netflix and spotify’. So I decided to keep my un-metered fixed wireless in place for these and build a LTE router exclusively for work, with a cheap pay-as-you-go contract.
First off, dovado do a nice range of LTE routers - so if you don’t feel inclined to build the one described in this post, you can get one there. I have used these in the past, they work very well and have a few nice tricks worth paying for - keepalive etc. The only catch with these category of LTE routers is that they are built for USB LTE modems, typically these don’t expose connections for external antenna’s. I wanted to build something with an external antenna to maximise my signal strength.
This design uses a first generation Intel Galileo’s I had lying around. The Galileo has the benefit of mPCIe slot, so I paired it with a M.2. LTE modem from Huawei. To complete the design, I modified a Galileo Layer cake case design from Thingiverse adding two holes for the antenna and finished it in white acrylic.
Bill of materials
- Intel Galileo Generation 1
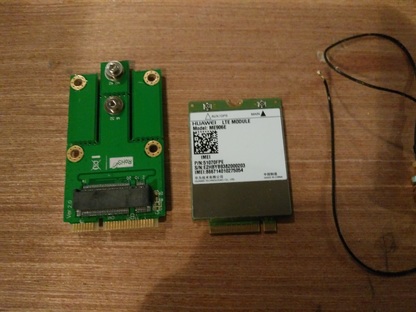
- Hauwei ME906e M2M LTE Modem - €40
- M2 to mPCIe Convertor - €9
- 2 x 6” RF pigtail MHF4 to SMA Female - €4
- 2 x 5db LTE Antenna - €8
- Thermal Glue - €1
- Small Heatsink - €.5
- Layer Cake case with antenna holes
- 1/2 sheet white acrylic - €6
- 1/2 hour of cutting time on a Lazersaur - €9
- 4 x 3.5mm nuts and bolts - ?
- A cellular simcard, from your provider of choice.
Total (exluding the Galileo) : €77.50
Some notes on assembling:-
- Ensure that the M2 to mPCIe convertor you buy has a SIM card slot. The sim card slot is on the convertor, not the Huawei LTE modem.
- Ensure that you get the genders for the antenna and pigtails the right way around. My antenna are male, my pigtails are female.
- Ensure that your pigtails are long enough, 6” was plenty in my case.
- Remove the metal hooks from the side of the Galileo’s ethernet port, otherwise the layer ontop of the Galileo won’t fit.
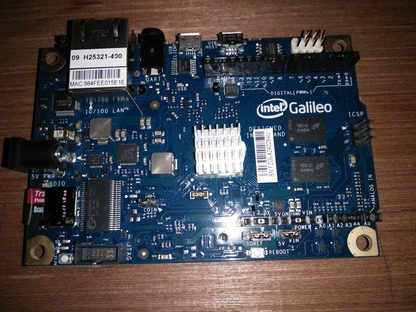
- I added a heatsink and thermal glue to the microprocessor, as the Galileo had a tendancy to run a little hot. When you are cutting the case with the lazer cutter, I suggest make a number of vendilation holes.
- Finally, acrylic can be quiet brittle, becareful not to over-tighten the pigtails against the layer cake case.
Some photos in various stages of completion
The M.2. to mPCIe convertor card, the Huawei me906e lte modem and pigtails.

The M.2. convertor card, showing the SIM card.

The Galileo Gen 1 with the heatsink and thermal glue in place.

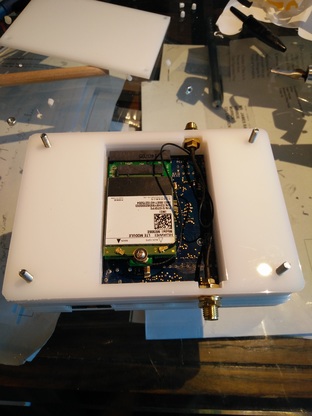
The LTE router partially assembled, with lte modem and pigtails in place.

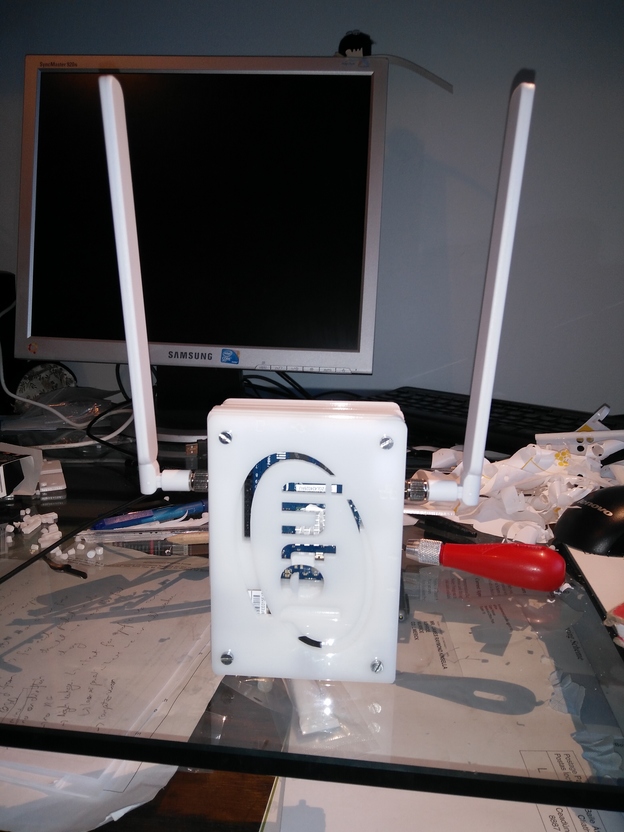
Here is the finished article.
The completed LTE router

In the next post, I will cover the software setup and the benchmarks!
maker